Four Fixes For Bad Printing Results
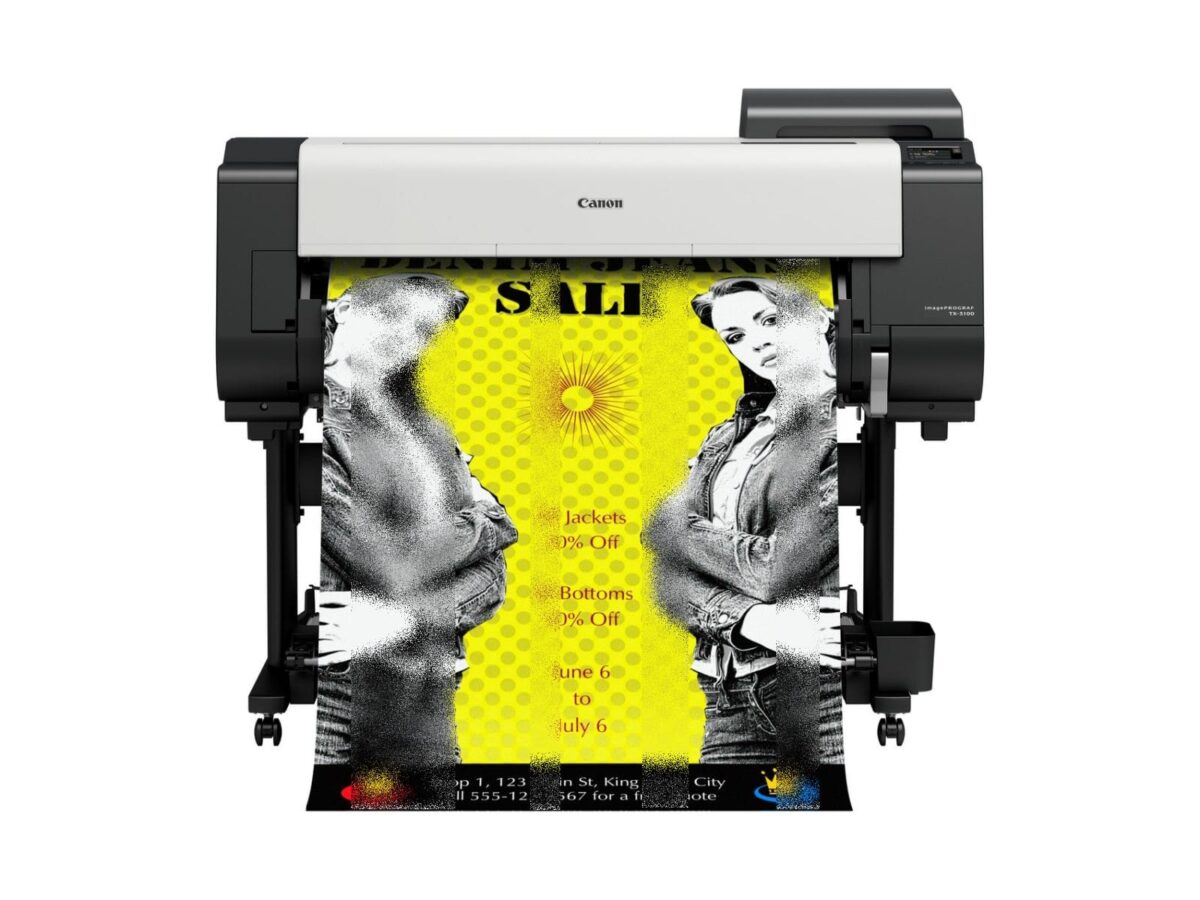
Canon imagePROGRAF printers are awesome, they’re easy to use and produce amazing prints. However, as with all large format printers, you may sometimes find that what they see on their screen, isn’t what comes out of the printer. Here some common reasons and fixes.
1: Check the paper profile
It’s very important to make sure you’ve chosen the correct ICC profile before printing. This profile contains the information that the printer needs to accurately place and reproduce the correct colours on different types of paper. Different medias also require different amounts of ink to reproduce accurate colours. The imagePROGRAF machines have Canon profiles built in, those for alternative brands of media can be supplied by the manufacturer and easily installed.
2: Calibrate the PC screen
It’s important to calibrate the PC monitor so that colours and tones are displayed correctly on the screen. This would normally be a job for a specialist, but you may choose to purchase equipment to do this yourself.
Once the screen is calibrated and the correct ICC is loaded and chosen, it’s still a good idea to Soft Proof the image to ensure the fix is successful and to get the best results every time.
Soft Proofing gives you the ability to see a simulation of how the image will look when printed based on your chosen media profile. Ensuring that the colours and tones will look the same on the paper as they do on the screen helps avoid wasted time and materials. Soft Proofing won’t cost a penny, as you can use Canon’s free Print Studio Pro or Professional Print & Layout software to achieve this.
3. The print head nozzles are blocked
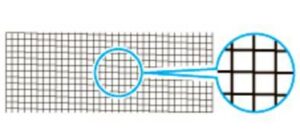
Your large format printer will have a maintenance menu, from which you can print a nozzle test page. When looking at it closely, it should resemble the top image, with consistent lines, rather than a botched grid. If the grid isn’t properly printed, you’ll need to clean the heads. Start with the lightest cleaning setting to see if that works, then move up through the intensities to avoid wasting ink.
You can use our easy tool to find more ink here.
4. Spring clean the inside of your printer
Cleaning inside the top cover of your printer about once a month will prevent problems. If the underside of paper is dirty or you’ve recently used adhesive paper, then it’s a good idea to do some maintenance.
Do not use a dry cloth as it may create a static charge, but make sure to completely wring out a damp cloth. Do not use any rough materials that could scratch the surface.
Your device may come with a cleaning brush that’s best for when working with the internal components, and there could also be a Platen Cleaning mode to select in the maintenance screen that needs to be triggered first.
Sometimes preventative measures will avoid problems that need to be fixed later down the line.


